No-Code Guide: Set Up Shopify Data Layer Events in Minutes
TL;DR/Summary
Setting up DataLayer events on Shopify is tedious, and checkout tracking is worse because Shopify sandboxes it behind a custom pixel, uses different event names than GA4, and breaks GTM preview mode. ZapEvent is a free Shopify app that handles all of it for you in under 10 minutes: GTM install, DataLayer events, and checkout pixel setup. No code. No debugging sandboxed iframes.
Shopify checkout tracking is complicated because of sandboxed custom pixels, mismatched event names, and broken GTM preview mode visibility.
ZapEvent automatically maps Shopify events to GA4-friendly names and handles enhanced conversions with hashed email and phone.
Instead of debugging checkout sandboxes and stitching blog tutorials together, you can get full-store tracking live in under 10 minutes, free.
ZapEvent comes with advanced user options prebuilt like: Support for adding a custom suffix to tracking events and built-in sGTM support for those using server-side tagging.
Why Do We Need ZapEvents?
Howdy!
A few months ago, I noticed how something as basic as setting up DataLayer events on Shopify was far more annoying than it should have been. I have also noticed how tracking under the checkout part is what confuses people the most. Shopify requires you to create your own custom pixel to track anything on checkout. GTM preview mode can't see inside the checkout sandbox.
We believe that menial tasks like these should be wrapped up quick. Thus, we ended up creating a free, simple Shopify app out of it that does the job for you, so that you can unblock this quick and focus on your operations. The app is: ZapEvent
Why Checkout Tracking on Shopify Is Such a Headache
Shopify moved to something called Checkout Extensibility. The old way of dropping scripts into checkout.liquid it is going away (and if you're not on Shopify Plus, you never had that option anyway). Now, if you want to track events on the checkout page, things like: begin_checkout, add_payment_info, purchase - You need to use Shopify Custom Pixels.
Custom pixels run inside a sandboxed iframe. Shopify did this for security reasons, which is fair. But it creates a bunch of problems for anyone trying to set up tracking:
GTM Preview Mode goes blind: The sandbox blocks GTM's debug script from reaching in. So you open preview mode, walk through a checkout, and... nothing shows up. It genuinely looks like everything is broken, even when it's working perfectly fine in the background.
You have to pull re-init hacks in the sandbox: You don't have direct access to the DOM or the "window" object. This leads to the developer having to pull hacks to make it work. We re-init on the checkout page and then build on top of the analytics API by Shopify to get notified when to inject events, on your behalf.
Shopify has different names for events: Shopify has its own naming conventions for customer events, and they don't match what Google Analytics 4 or GTM expect. Here is an example comparison:
What ZapEvent does
ZapEvent handles the GTM installation, DataLayer event setup, and checkout custom pixel creation through a simple guided flow. You don't need to touch any code or piece together instructions from several different blog posts.
Feel free to watch our YouTube tutorial on this:
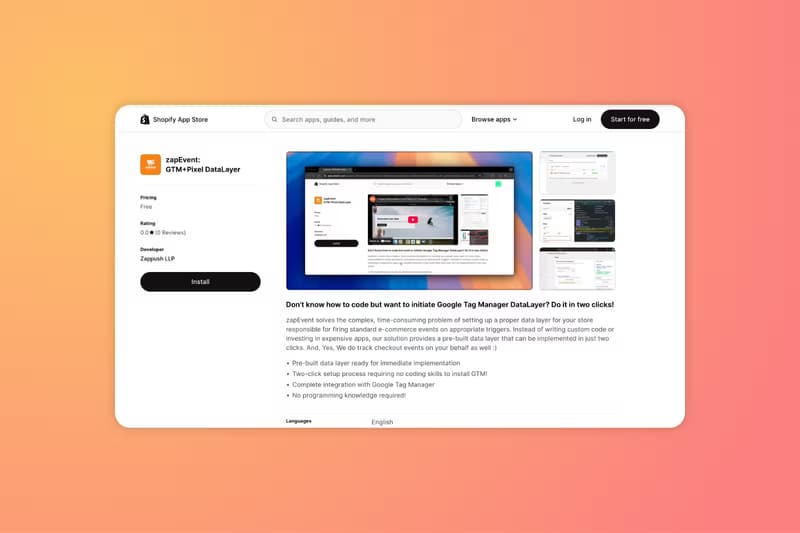
Go to the ZapEvent page on the Shopify App Store and hit Install. Grant the permissions it asks for, and you'll land on the app's admin page.
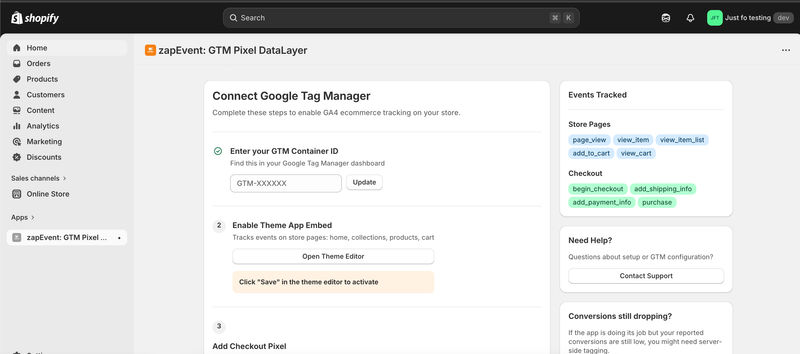
Find the "Enter your GTM container ID" step on the admin page. Plug in your
GTM-XXXXXXID and click Update. You should see "GTM configuration saved!".
Click "Open Theme editor" under the next step. This takes you to the App Embeds section, where the DataLayer Setup toggle should already be on.
If it's off for some reason, flip it on and make sure you hit Save in the top-right corner. This handles GTM and DataLayer across your storefront.

Make sure to press save by clicking the button on the top right side.
Move on to the "Add Checkout Pixel" step and follow the steps instructed here:
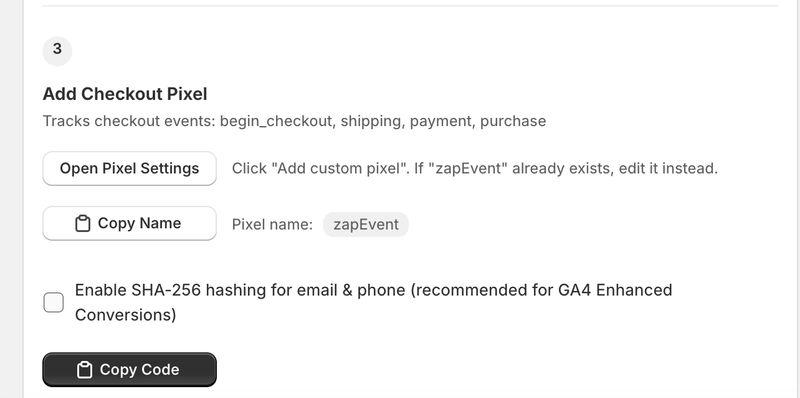
Starting with clicking on "Open Pixel Settings". It should redirect you to a URL that looks like this: https://admin.shopify.com/store/{URL}/settings/customer_events?type=CUSTOM.
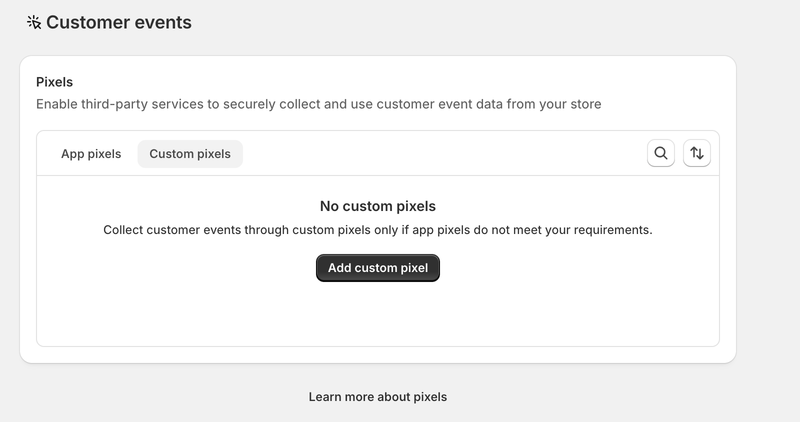
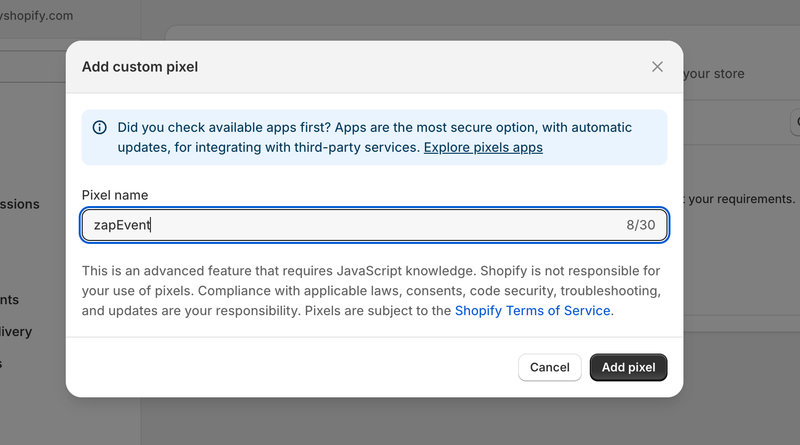
On the redirected page, click "Add custom pixel."
Then, from the app admin page, click "Copy Name".
Paste it back on the page you were redirected to and click "Add pixel".
Go back to the app admin page, and click "Copy Code". We hash email and phone to be compliant with GA4 enhanced conversions.

Switch back to the other page. You probably see a code editor like this here:
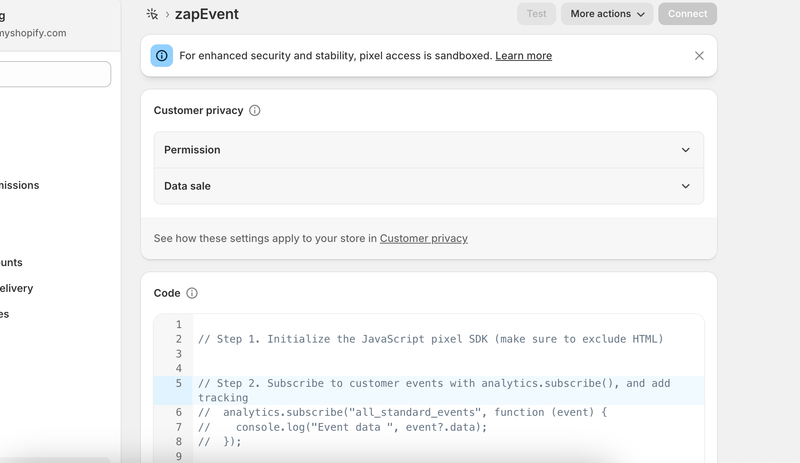
I want you to remove the boilerplate code that existed here, And, Paste the code you copied.
Click "Save" and then "Connect" (Connect becomes available after you click "Save"). Make sure to press connect!
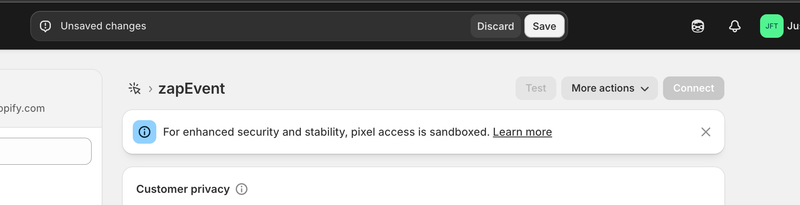
Done! Your datalayer events should be functional :)
Common debugging issues
"I'm in GTM preview mode. All my tags fire on the storefront. But when I go to checkout, nothing shows up. Did I break something?"
Almost certainly not. What's happening is that GTM preview mode literally cannot see inside Shopify's checkout sandbox. The sandbox blocks it. Your tags are firing, your data is being sent, your conversions are being tracked, but the preview mode just can't observe any of it.
This is actually the whole reason checkout tracking on Shopify requires jumping through so many hoops in the first place. The sandboxing is by design.
If you want to verify things are actually working, here's what you can do:
Check the Network tab in Chrome DevTools. Filter for your analytics platform's requests (like Google Analytics) and watch for network calls going out when you trigger checkout actions.
(Right click -> Inspect -> Network -> In the search bar type "analytics" -> Click on the request you see -> Click on payload -> scroll down to find the event name).
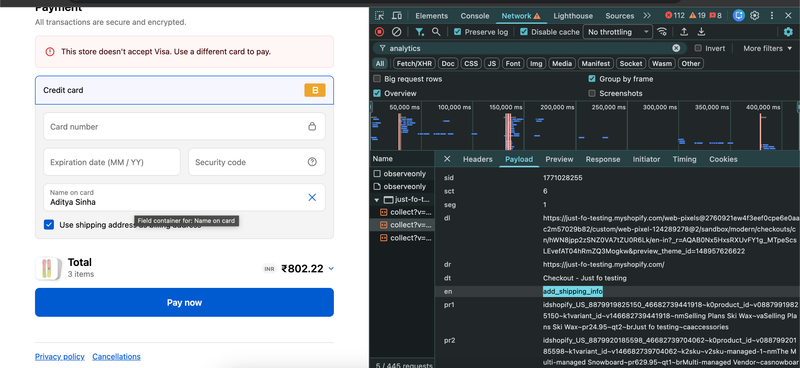
Dev Console logs: Open DevTools, go to the Console, and you should see these logs

As you can see here, the page_view, begin_checkout, and add_shipping_info events were firing.
Who This Is For
Honestly, if you're reading an article about Shopify DataLayer setup, ZapEvent is probably for you. But specifically:
You need GA4 ecommerce events or Google Ads conversion tracking working across your whole store, including checkout and order confirmation.
You've already tried doing this manually and got stuck somewhere between custom pixel code and sandbox debugging.
You don't want to spend money on a $5.99/month app for something that should be simple and free.
You'd rather spend your time optimizing campaigns than wrestling with tag management.
If you're someone like that, I would also recommend that you go ahead and do a quick tracking audit here for your tracking setup.
If you're still having trouble with the setup, please reach out to us at support@zappush.com. I would love to personally make sure that the app is useful for you.